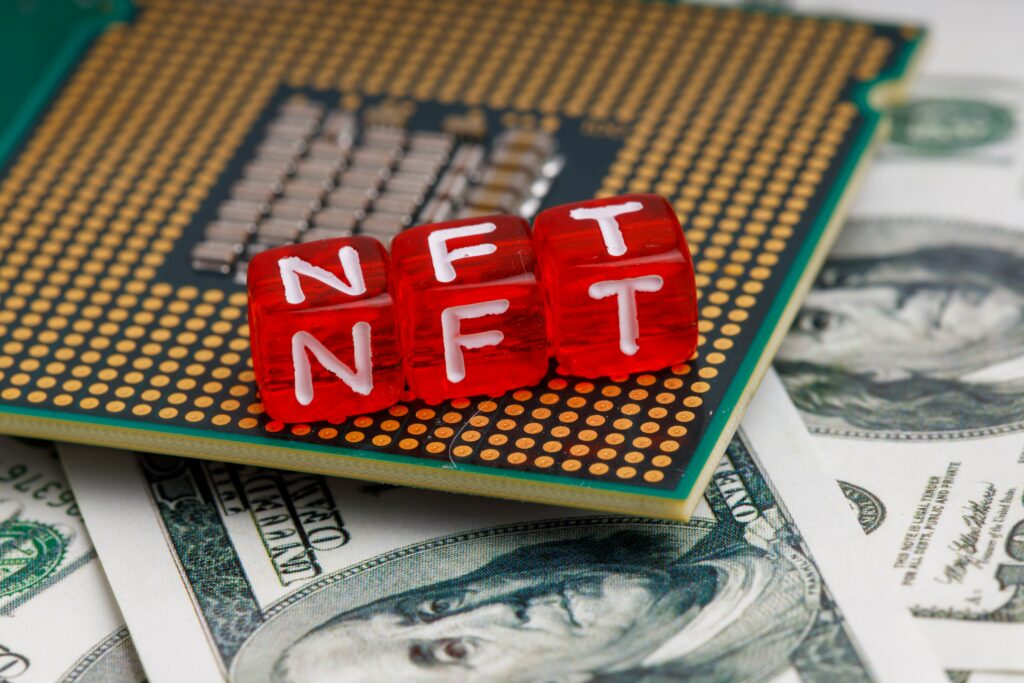
How to make an NFT?
A step-by-step guide to making your first NFT on SolSea.
You’ve probably heard about NFTs and now you’re curious how to make one of your own. The process may seem daunting, but if you follow the steps in this guide, creating NFTs will seem like a piece of cake!
Before we get into the nitty gritties, it’s important that you understand what minting non-fungible tokens means.
#What is NFT minting?
If you’re new to the NFT space you may have come across the term “minting” but aren’t entirely sure what it means. Minting is the term used to describe the process of creating an NFT. But you may still be wondering: What does it actually mean to “mint” or make an NFT?
Minting an NFT means that you write data about your artwork into the blockchain. In a way, you’re transforming a simple JPEG image into information that is permanently stored on a network that everyone can read and no one can destroy. Everything about your artwork becomes public knowledge, including who bought it, who sold it, how many times it was re-sold, and so on. But let’s not get ahead of ourselves – basics first!
In case you want to skip the intro, you can skip straight to the section about how to mint NFTs on SolSea.
#How does minting work?
Let’s assume you’re an artist who creates digital art and you want to start selling your digital art as NFTs. When you mint an NFT, you essentially write information (metadata) about your artwork on the blockchain. So first you’ll choose a blockchain to mint on and then you’ll find a platform that, preferably, allows you to both create and sell NFTs.
The process of minting will include uploading your digital art file to the platform so it can be stored on a permanent cloud storage service, as well as adding details about your artwork like its title, a description, and the like. When it’s minted on the blockchain, your NFT will have metadata that contains these details and the link (URL) to your artwork file stored on the cloud.
Simple enough, isn’t it? Now let’s get down to the finer details of creating NFTs.
One of the most important steps of this process is choosing a blockchain to mint your NFTs on. Chances are you’ve already heard of Ethereum – it’s the most popular blockchain for NFTs and the one that started it all. However, many other blockchains have adopted the trend and there are now a myriad of networks to choose from, like Solana, Polygon, Flow, Cardano, etc.
Making this choice is perhaps something you should spend the most time on, because it will impact everything you do later on. That said, here’s a rundown of some of the most popular blockchain networks for minting NFTs.
#Which blockchain should you use?
Choosing a blockchain to house your NFTs, and later sell them, is the first step. Factors to consider when making your choice are: the price of minting, the speed of the network itself, the community, and others.
Every blockchain will charge a certain amount of money for minting – these are called “gas fees” and they are required for every transaction that is written on the blockchain. Because minting involves writing data on the blockchain, it also includes gas fees. Likewise, how quickly a network can process and write transactions is crucial so you don’t have to wait for long periods of time between mints. Community matters too because when you start selling your NFTs, you’ll want access to an audience that will see them and buy them.
The best way to find out which network to choose from is by comparing their pros and cons:
#Ethereum blockchain
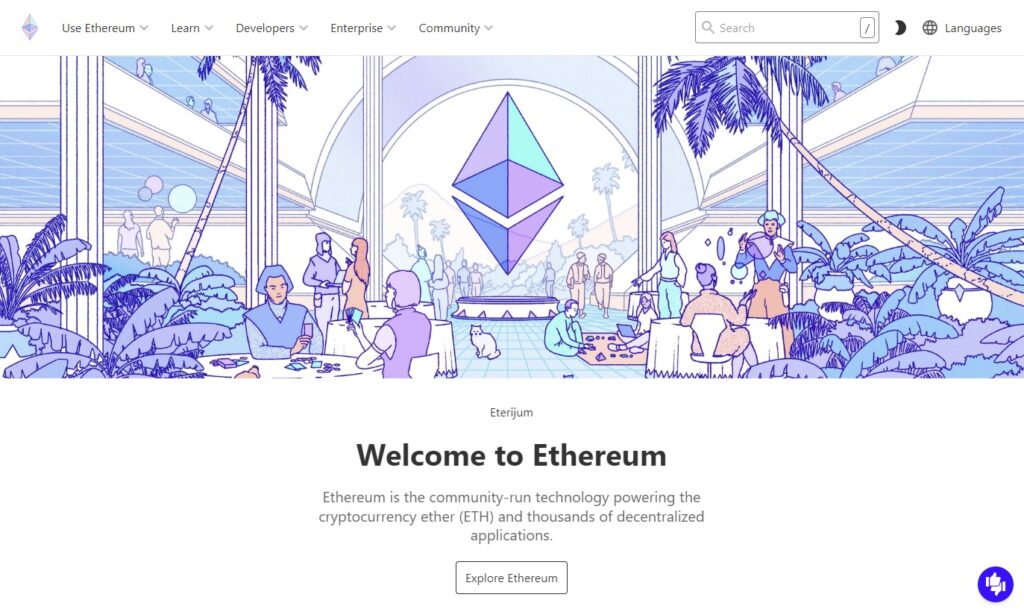
As mentioned above, the Ethereum blockchain is the one most often used for minting, in part because it was the blockchain that introduced NFTs. It is highly secure and has gained credibility over the years due to its popularity. Although it has experienced some hiccups in the past, a series of updates have been made to the network to enable efficiency.
Ethereum certainly hosts the largest number of NFTs, but it is one of the hardest to succeed on because competition is fierce on this chain. It’s also infamous for its high gas fees. This is one of the main reasons many creators have boycotted the chain and moved to a newer, cheaper alternative.
Pros: one of the most popular chains, highly secure, largest community
Cons: hard to succeed on, infamously high gas fees
#Solana blockchain
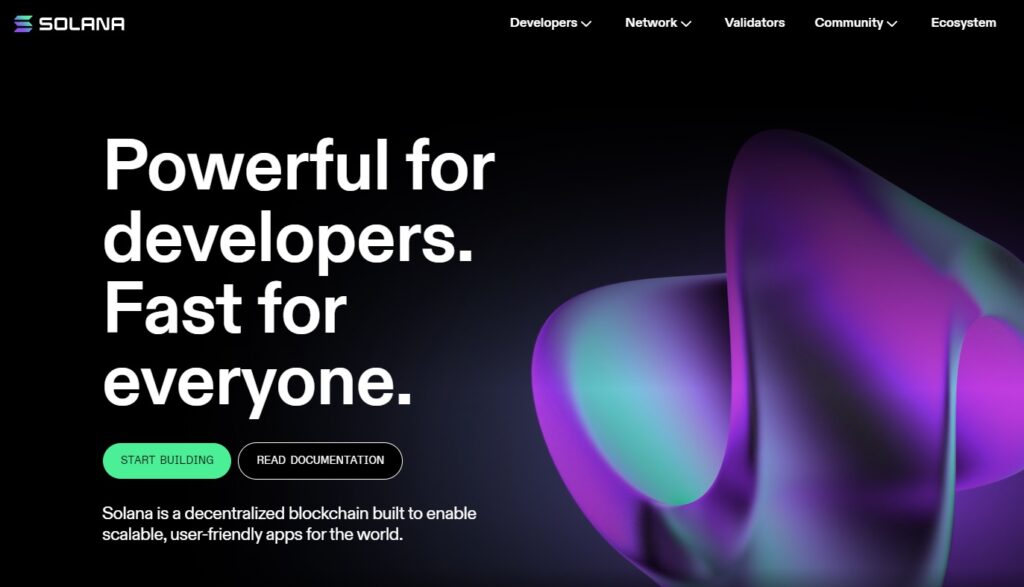
Solana, meanwhile, is a younger blockchain than Ethereum, which is what makes it less “crowded”. The Solana blockchain hit the crypto scene with its early launch in 2020 and ever since, its fast growth has been a topic of discussion. While it has very quickly built a vast ecosystem of NFT marketplaces and its community is ever growing, Solana is still fairly new and it is precisely its youth that may deter some creators.
It’s already known for its speed and notably low gas fees, which is what gives it an edge over Ethereum. However, Solana has faced issues regarding the occasional instability of the network and it has garnered some criticism from the community about its lack of transparency in the network.
Pros: fast growth of the network, ultra low gas fees, high speed
Cons: occasional instability, lack of transparency
#Polygon blockchain
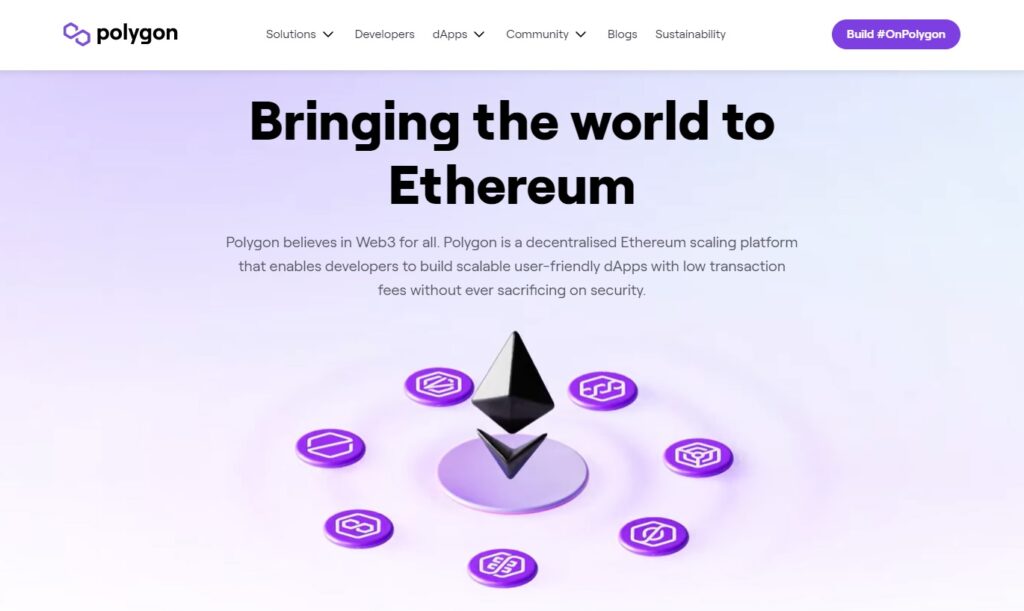
Another chain younger than Ethereum, Polygon has quickly become a force to be reckoned with. Polygon is built “on top” of the Ethereum blockchain, but it solves some of its bigger issues. It offers cheaper transactions and it also gains an extra point for its ability to take on high-frequency transactions. This means that you can mint a lot of NFTs on the platform efficiently.
Despite these advantages, Polygon is not as well-known as its counterparts. And because the NFT community is strongest where there’s credibility, Polygon has some more catching up to do.
**Pros:**quicker and cheaper transactions
**Cons:**less known than its counterparts
#What is an NFT marketplace?
When you’ve chosen the blockchain you want to mint your NFTs on, you’ll have to find a platform that provides the service of minting and selling NFTs. An NFT marketplace is a platform where you can create, sell and buy non-fungible tokens. Not all marketplaces provide the service of minting, so keep that in mind when you do your research.
Some common NFT marketplaces you may have heard of are OpenSea, Larva Labs, Rarible, and SuperRare (primarily) on the Ethereum blockchain, and SolSea, Magic Eden and Solanart on the Solana blockchain. Creating NFTs on Ethereum and Solana is similar, but each NFT platform that enables minting will differ slightly.
For the purposes of this guide, we’ll describe how to mint an NFT on Solana, using the SolSea NFT marketplace as an example in later text.
#How to create an NFT on Solana?
#Set up a crypto wallet
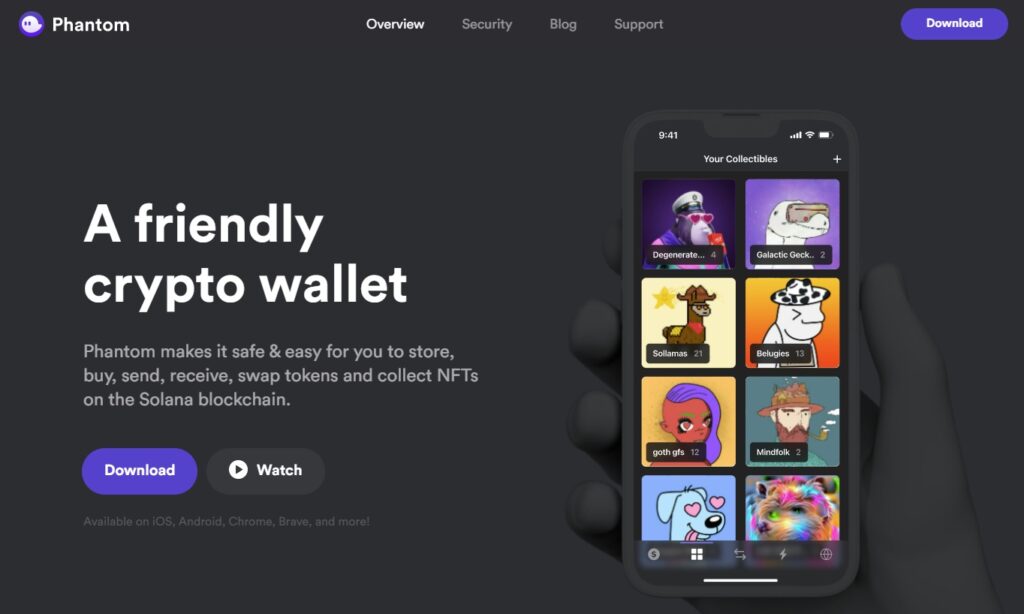
The first step in creating an NFT on Solana is creating a crypto wallet. This is important because you’ll need to have Solana’s native cryptocurrency (SOL) in your wallet to pay for the required gas fees. Read how to set up Phantom, a user-friendly wallet that can help you begin your NFT journey (or watch this video tutorial made by a community member).
When your wallet is up and running, you’ll need to fund it with SOL before you can start minting. Minting NFTs on the blockchain isn’t free, so keep in mind that you’ll have to pay a small fee for every mint no matter which platform you use.
#Connect your wallet to an NFT marketplace
Every marketplace will require you to connect your wallet to the platform before you can get down to minting. Usually, you’ll find some variation of a ‘Connect wallet’ button at the top right corner of the platform. By clicking it, you’ll open a list of supported wallets and all you’ll have to do is select ‘Phantom’.
#Mint your first NFT
Depending on the marketplace, the minting interface may differ slightly, but the process will always include uploading your artwork file(s), entering details about your NFT like its title, description, traits, etc, and approving the transaction to write all this data on the blockchain. Gas fees will be deducted from your wallet and your NFT will be minted!
Now this all sounds easy – because it is! There’s no need to be scared of the process. After you mint your first NFT, you’ll find it’s really not as difficult as it may seem.
We’ve covered the overall process of creating an NFT, but it’s time to get down to the precise steps.
#How to create an NFT on Solsea?
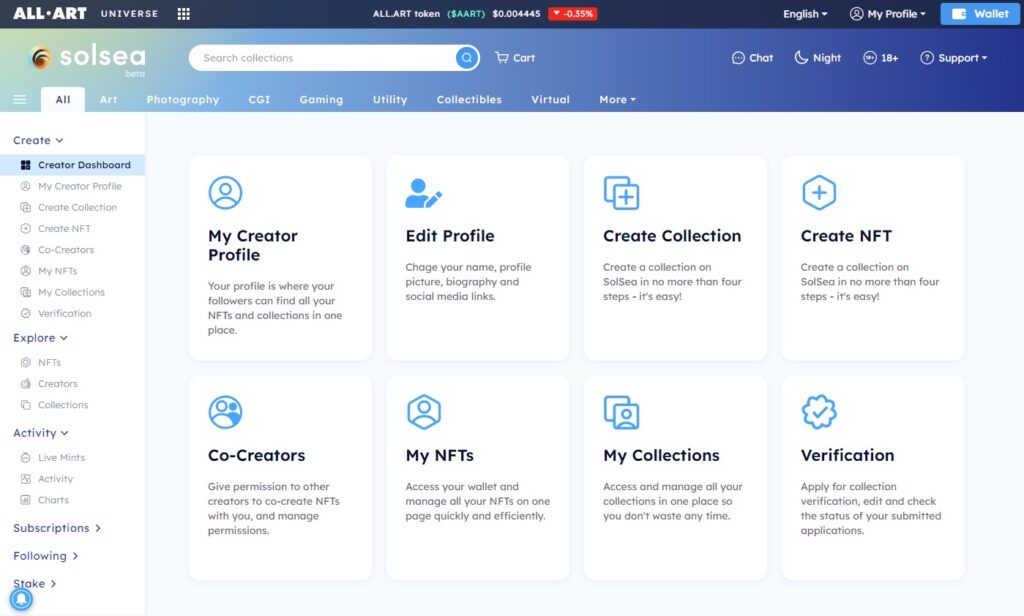
SolSea is an NFT marketplace on the Solana blockchain with a unique feature that sets it apart from its competitors. When you mint NFTs on SolSea, you can attach copyright licenses to them, which can protect your art from being misused. SolSea supports independent creators and offers a host of other perks to its users. But let’s start with a guide to minting NFTs on SolSea:
#1. Connect to SolSea and create an account

Go to SolSea’s official website and click on ‘Connect Wallet’ in the top right corner. Select the wallet you have and click ‘Connect’. Now, you’ll have to create an account to access the Creator Dashboard and all the creator options available on the platform. Click on ‘Register’ and follow the instructions. Keep in mind that you have to verify your email address to complete the process.
#2. Access your Creator Dashboard
When you’re all set and logged in to your new account, you’re ready to start creating! You’ll find all the creator tools in your Creator Dashboard in the left side panel. First, it’s important to choose whether you want to create an individual NFT (a “1/1 NFT”) or if you want to start a collection. Since creating a single NFT is easier than the latter option, we’ll explain the process of creating the first NFT in a collection.
#3. Create your first collection
Think of a collection as a “folder” grouping your NFTs together by a common topic or style. Before you can mint an NFT that you want to put in this collection, you’ll have to create the collection itself. And keep in mind that if you skip this step and mint NFTs first, you won’t be able to add them to the collection later.
Click on ‘Create Collection’ in your Creator Dashboard and follow the instructions on the website. Choosing a category for your collection will be the first step. It will reflect the type of media your collection will contain. Then you’ll be asked to add a title, short description and a longer description of your collection to start with. Afterwards, you’ll need to upload a header and icon image that will give your collection a visual boost on SolSea’s ‘Explore’ page.
Once you’ve completed all the steps and double-checked that all information is correct – there’s no editing once it’s on the blockchain so be careful! – click ‘Create Collection’. When a transaction pops up click ‘Approve’ to pay the required gas fees and your first collection will be created!
#4. Create your first NFT
This process is fairly similar to creating a collection. In your Creator Dashboard click ‘Create NFT’ and follow the instructions, much like you did when creating your collection! You’ll first need to choose which collection the NFT belongs to, then you’ll choose a subcategory based on the category of that collection. Adding a title and descriptions will be next and, as with the collection, the data of your NFT cannot be changed after its minted, so be sure to double-check everything before you’re done.
One of the most important steps is choosing a license that will be embedded in your NFT. There’s several options available and you can find out more about them on the website. Defining royalties is also an integral part of minting an NFT because it defines the percentage of sale revenue you’ll get as the creator every time someone resells your NFT. After this step, you’ll have to upload a preview file of your artwork (typically a smaller version of your main file) and your artwork itself.
In the end, all that’s left is to click ‘Mint NFT’ and approve the transactions that pop up.
Congratulations! You’ve minted your first NFT!
We made this nifty video tutorial to take you through the process of creating a collection and your first NFT in even greater detail, so check it out and start creating:
#5. Put your NFT up for sale
Now, assuming you didn’t just create an NFT only to admire it by yourself, you’ll want to put it up for sale on the marketplace – in other words, you’ll want to “list” your NFT.
To do this, first make sure your collection is published so other SolSea users can see it. Then go to your wallet, find your first NFT in the ‘NFTs in Wallet’ section, click ‘List’, enter the price you want to sell it for, approve the transaction that pops up when you click ‘List’ again and you’re done!
Of course, there’s a few more details to factor in when selling your NFTs, so if you’re ready to take the next step on your NFT journey, check out our guide on how to sell an NFT!